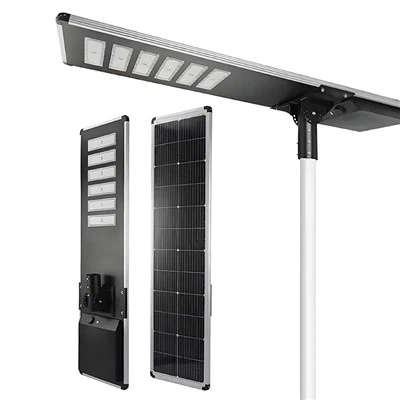
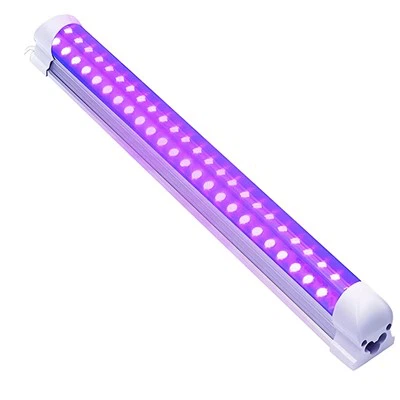
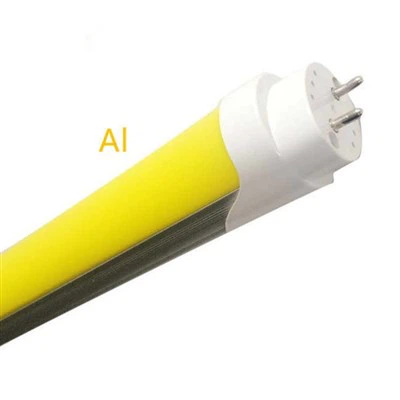
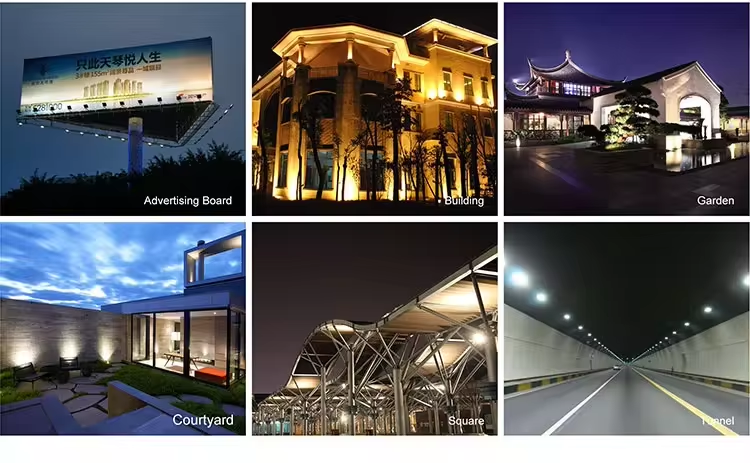
If you're looking to add some extra security to your home or business, a floodlight can be an excellent investment. In today's world, residential and commercial property safety has become a top priority for every property owner. Dark outdoor corners, unlit yard spaces, and dim building exteriors often create potential safety hazards, including unauthorized trespassing, property theft, and accidental falls at night. Floodlights serve as one of the most practical and cost-effective outdoor security lighting solutions on the market. Floodlights are bright and powerful lights that can illuminate large areas, making them perfect for deterring intruders or keeping your premises well-lit and secure. Their wide beam range, high luminous brightness, and durable outdoor-rated structure make them ideal for installation in backyards, driveways, building facades, parking lots, warehouse exteriors, and commercial courtyard spaces. A well-installed floodlight can effectively eliminate dark blind spots around the property, discourage potential intruders by exposing hidden areas, and provide clear visibility for nighttime outdoor activities, patrols, and pedestrian traffic, greatly upgrading the overall safety level of any residential or commercial space.
But many people wonder whether they're required to hire an electrician to install a floodlight, or if they can take on the job themselves. The answer is yes, you can install a floodlight yourself - but there are some important things to keep in mind.
First of all, it's essential that you follow all safety guidelines and regulations. This means turning off the power to the area where you'll be working and using appropriate safety equipment like gloves and goggles. If you're not comfortable with working with electricity, it's always best to hire a professional.
Assuming you're up to the task, however, the first step is to decide on the right location for your floodlight. Location selection directly determines the final lighting effect, security performance, and service life of your floodlight, and it is also the key step to avoid subsequent lighting problems. You'll want to choose an area that provides the best coverage and visibility, while also ensuring that the light doesn't create any glare or other hazards for passersby. The optimal installation position is usually the high corner of building exterior walls, the top of courtyard walls, or the upper part of porch eaves, which can maximize the lighting range and cover key monitoring and activity areas such as yard entrances, driveway passages, and building blind spots. When selecting the position, you need to avoid blocking the light by walls, trees, or outdoor decorations, and ensure the light beam can spread evenly without dead ends. At the same time, you must prevent the lamp from facing directly towards public roads, neighboring houses, or pedestrian walking routes. Excessive strong glare will affect the normal vision of passersby and neighbors, cause light pollution, and even trigger unnecessary disputes. In addition, try to avoid installing floodlights in long-term waterlogged areas or places directly exposed to heavy rain accumulation, so as to prevent water infiltration from damaging the internal circuit and affecting the service life of the fixture.
Once you've chosen your location, you'll need to measure and mark where the mounting bracket will go. Precise measurement and marking are the prerequisites for stable and neat installation, which can avoid skewed installation, loose fixation, or repeated drilling damage to the wall.This will typically involve drilling holes for screws or anchors.Before marking, you need to level the mounting bracket to ensure the lamp body is horizontal and vertical, preventing tilted lighting angles that affect the coverage effect. Use a tape measure to confirm the hole spacing of the bracket, and use a marker to accurately mark the drilling positions on the wall surface. For different wall materials, different fixing accessories need to be matched: solid brick walls and concrete walls need expansion anchor bolts to ensure firm fixation, while hollow walls or wooden walls can use self-tapping screws for fixing. Before drilling, check the marked position again to avoid drilling into hidden buried wires, water pipes, or wall structures inside the wall. After drilling, clean up the dust and debris in the holes to ensure the anchors and screws can be fully fixed, making the mounting bracket stable and shake-free.
Next, you'll need to connect the wiring. Wiring is the most technical and critical step in the entire DIY installation process, which directly affects the safety and normal operation of the floodlight. This will likely involve running wires down the side of your house or building, which can be challenging if you're not used to working at heights. When arranging the external wires, you need to use outdoor waterproof wire casings or wire grooves to protect the circuit, preventing wind, rain, sun exposure, and aging damage to the exposed wires, and improving the overall waterproof and safety performance of the circuit. During high-altitude wire arrangement, ensure the wires are laid flat and fixed firmly at intervals to avoid sagging, shaking, or friction with the wall caused by wind blowing, which may lead to wire skin damage and electric leakage. You'll also need to connect the wires to the appropriate terminals on your floodlight and any switch or sensor that you're using. Most conventional floodlights adopt universal zero-fire line connection methods, and smart sensor floodlights also need to match the corresponding induction signal terminals. It is necessary to distinguish the live wire, neutral wire, and ground wire strictly according to the lamp wiring instructions, and ensure the wiring terminals are tightly crimped without loose wire heads or virtual connections. If you install a light switch or motion sensor to control the floodlight, you need to complete the series connection of the control components in accordance with the circuit principles to ensure the switch and sensor can sensitively and effectively control the light switch and brightness.
At this stage, it's important to double-check that everything is correctly wired and secure before you turn the power back on. Never rush to restore the power supply after wiring is completed, as minor wiring errors or loose interfaces may cause immediate circuit faults after power-on. You need to carefully check all wiring links one by one: confirm that the zero-fire lines are correctly connected without wrong connection or reverse connection, check that all terminal interfaces are tightly fixed without loose wires and exposed copper cores, verify that the external wire protection is complete, and ensure the bracket fixation is stable without shaking. For sensor-equipped floodlights, also check the sensor wiring and installation angle to ensure normal induction function. After all inspections are completed and no hidden dangers are confirmed, you can slowly restore the power supply of the corresponding circuit. Once you've switched the power back on, test your floodlight to make sure it's working correctly. Observe whether the light turns on normally, whether the brightness is stable without flicker, and test the switch and sensor functions repeatedly to ensure flexible control. If abnormal conditions such as no light, flickering, or tripping occur, immediately cut off the power again for secondary inspection and troubleshooting.
Overall, while the process for installing a floodlight may seem daunting at first, it's definitely something that you can do yourself with the right tools, safety precautions, and attention to detail. The entire DIY floodlight installation process covers site selection, positioning and marking, drilling and fixing, wiring connection, safety inspection, and power-on testing. Although it involves multiple steps and requires careful operation, it is completely within the ability range of ordinary people with basic hands-on skills. As long as you prepare complete installation tools, strictly abide by electrical safety specifications, and operate step by step carefully, you can successfully complete the installation independently. Of course, if you're not comfortable with electrical work, lack high-altitude operation experience, or encounter complex circuit matching problems during installation, it's always best to call in a professional. Professional electricians have standardized operation processes, professional testing tools, and rich practical experience, which can ensure installation safety and effect to the greatest extent. But for those with a DIY mindset and a bit of experience under their belt, installing a floodlight can be a rewarding and effective way to boost security and safety on their property. Independent installation not only saves labor costs but also allows you to freely adjust the installation position and lighting angle according to your actual space needs, making the outdoor security lighting more in line with your personal use habits and property safety layout.

How To Cooperate With Us?
Because of our own facilities, we have complete control over the production process and the quality of our goods, which makes us very pleased. We are committed to giving our clients the greatest price since we are manufacturers rather than just brokers. We encourage clients to evaluate our samples first since we are certain that the cost and quality of our items are transparent. Our dedication to excellence and client happiness motivates us to consistently provide superior products.
Our address
3rd Floor, 5th Building, Hebei Industrial Park, Hualian Community, Longhua District, Shenzhen, China