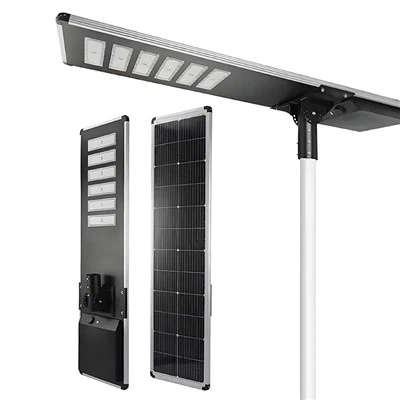
Any outdoor location would benefit greatly from the brilliant, energy-efficient illumination that LED flood lights provide. Correct installation of these lights might be difficult, but with the appropriate help, it's a simple operation. We'll walk you through the process of installing LED flood lights the right way in this article.
Tools Needed
Make sure we have the necessary tools before we begin. To install your LED flood lights, you'll need the following tools:
1. Electric drill
2. A drill bit
3. A screwdriver
4. Wire cutters and strippers
5. Tape for electricity
6. A voltage tester
Step 1: Select the Site
Selecting the site is the first step in installing LED flood lights. Think about the placement of the lights and the direction they should face. This is crucial since the beam's direction affects the amount of coverage the lights provide.
Mark the areas where the lights will be installed once you've decided on a place. Verify that there are no obstructions in the way and that there are no pipes or electrical cables nearby.
Installing the mounting bracket is step two.
Installing the mounting bracket is the next procedure. Screwdriver and power drill are used to fasten the bracket to the surface. Verify that it is level and securely in place. Use the template that comes with your LED flood light if it's available to assist you with installation.
Step 3: Let the cables run
Connect the LED flood light's cable to the electrical box. Remove the insulation from the ends of the wires using wire cutters or strippers. Attach your flood light's cables to the electrical box's wiring. Ensure that the correct color wires are connected. It is necessary to connect the black wire to the black wire and the white wire to the white wire.
After the cables are connected, cover them with electrical tape. This will shield the cables from dampness and guard against unintentional touch.
Step 4: The LED floodlight is secured.
It's time to attach the mounting bracket of the LED flood light. Secure the light in position by carefully fastening it to the bracket. Verify that it is firmly fastened.
Step 5: Examine the Illumination
Make sure the wires are connected properly by using a voltage tester before turning on the power. Verify that the white and black wires are not live by testing them both. After making sure everything is in working order, switch on the electricity and give the light a test. You've placed your LED flood light successfully if everything is operating as it should.
In summary
Although installing LED flood lights can appear difficult, it will be simpler if you follow the above instructions. When installing your lights, always exercise care and take all necessary safety measures. LED flood lights provide durable, energy-efficient illumination that is a great complement to any outdoor area. You can properly install your LED flood lights and take advantage of the advantages of brilliant, energy-efficient illumination by following these instructions.


