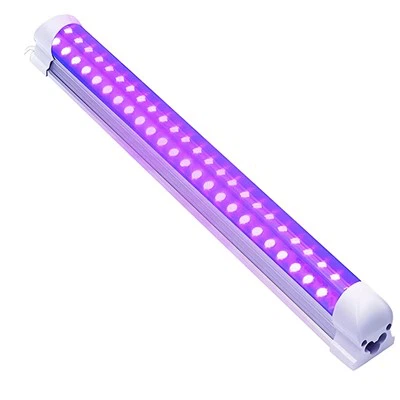
Adding LED light strips to your house is a fantastic way to give it more personality and glitter. In addition to being energy-efficient, they may also be used to create ambience in any kind of space. It's straightforward and simple to put LED light strips in your kitchen, living room, or bedroom if you want to brighten these spaces. This is a comprehensive tutorial to assist you with installing LED light strips in your house.
Step 1: Assemble Your Equipment and Materials
Assemble all the equipment and materials you'll need for the task before starting. A power supply, silicone adhesive, scissors, LED light strips, and a power source are required. In order to determine the length of the space where the LED light strips will be installed, you may also require a ruler or measuring tape.
Step 2: Choose the Location for the LED Light Strip Installation
Choose the space where the LED light strips to be installed. To showcase your collection of cups and glasses, you may put them within your cabinets, along the borders of your ceiling, or under your cabinets. To make sure you have enough light strips for the whole area, measure the length of the space where the strips will be placed.
Step 3: Tidy Up the Surface
The surface where the LED light strips will be installed should be cleaned before installation. To clean the surface of any dust or dirt, use a moist cloth.
Install the power source in step four.
Set up the LED light strips' power supply. Connect the power source to an outlet that is close by. In case the outlet is too far away, you may have to utilize an extension cable. Installing the power supply requires according to the manufacturer's instructions.
Attach the LED light strips in step five.
With the silicone adhesive, attach the LED light strips to the surface. Make sure the adhesive is applied uniformly over the surface on which the LED light strips are going to be installed. To prevent overheating, make sure there is adequate space between each strip.
Cut the LED light strips in step six.
Cut the LED light strips with a pair of scissors so that they match the length of the space where you want to put them. Take care to trim the strip along the dotted line. To guarantee precise cuts, you may also use a measuring tape or ruler.
Connect the LED light strips in step seven.
As directed by the manufacturer, connect the LED light strips to the power source. The majority of LED light strips have adapters that allow connecting them to the power source simple.
Step 8: Make sure the light strips are LEDs.
Turn on the LED light strips to make sure they are operating correctly after connecting them to the power source. To suit your tastes, change the brightness and color settings.
Enjoy Your New LED Light Strips in Step 9
Best wishes! Your home's LED light strips installation is now complete. As they light up your area, take a seat back and enjoy the ambience they produce.
In summary
LED light strip installation is a quick and easy method to give your house some additional personality. Any area in your house may be made into a cozy and welcoming room with a little preparation and the correct supplies. By following these instructions, you may start using LED light strips in your house and get their advantages.
https://www.benweilighting.com/professional-lighting/led-strip-lights/small-strip-light.html


