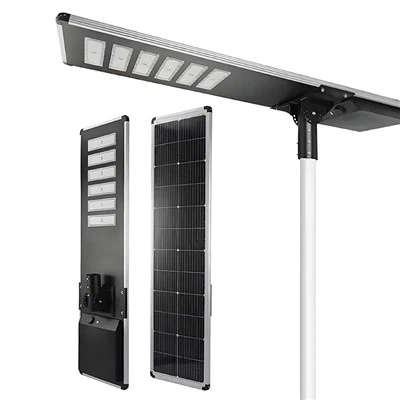
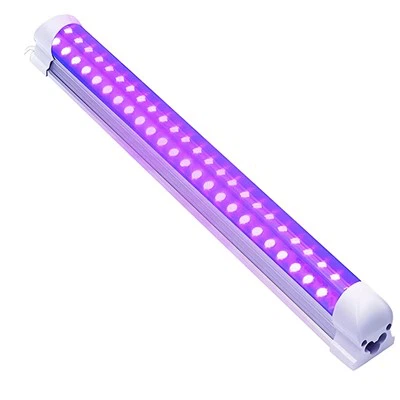
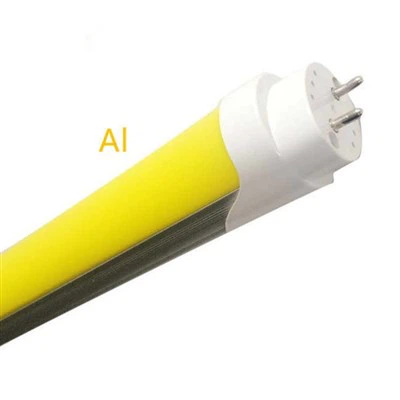
LED batten lights are among the most common lighting products, frequently found in offices, garages, and warehouse aisles. While their simple structure might lead some to believe installation is a casual affair, there are actually several critical details that, if overlooked, can cause the fixture to fail prematurely. This article outlines the key steps of the installation process.
Pre-installation Preparation
Before starting, verify a few essentials: ensure the fixture's voltage and wattage match the site's electrical circuit; confirm the installation environment meets the fixture's ingress protection (IP) rating requirements (e.g., damp areas like garages or basements require IP65 or higher); and ensure the mounting surface can support the fixture's weight. Also, gather the necessary tools-screwdriver, electric drill, wire connectors, and voltage tester-as these will be required throughout the process. If you plan to use a suspended or chain-hung installation, prepare the appropriate hooks and chains in advance.
Determining Installation Location and Method
There are three common installation methods for LED batten lights: direct ceiling mounting, chain suspension, and bracket mounting. The choice depends largely on the ceiling height and the intended use of the space: direct ceiling mounting is suitable for offices or corridors with lower ceilings, whereas chain suspension is better for high-ceiling spaces like warehouses, as it allows the light to be lowered to an optimal illumination height. Once the method is selected, mark the mounting holes on the surface. It is best to use the fixture's mounting base as a template for positioning; this ensures greater hole accuracy and a smoother installation process.
Power Disconnection and Wiring Safety Check
Before beginning the actual work, you must cut off the power to the relevant circuit and use a voltage tester to confirm the line is truly de-energized. This step is crucial and cannot be skipped-especially in locations with multi-circuit distribution, where it is easy to disconnect the wrong line. Additionally, inspect the existing wiring for signs of aging or damaged insulation; any issues must be resolved before installing the fixture to prevent powering up a system with potential hazards.
Specific Steps for Bracket Mounting
Align the fixture's mounting bracket or base with the marked hole locations and secure it firmly with screws. Note that if installing on drywall or a lightweight suspended ceiling, you must use expansion bolts or specialized anchors for reinforcement; using ordinary screws alone may result in the fixture falling due to insufficient load-bearing capacity. For chain-suspended installations, first secure the suspension hook to a load-bearing structure (such as a steel beam or embedded fixture). Then, connect one end of the chain to the hook and the other to the suspension points at both ends of the light fixture. Adjust the chain length to keep the fixture level, ensuring it does not tilt to one side.
Wiring and Continuous Row Installation Considerations
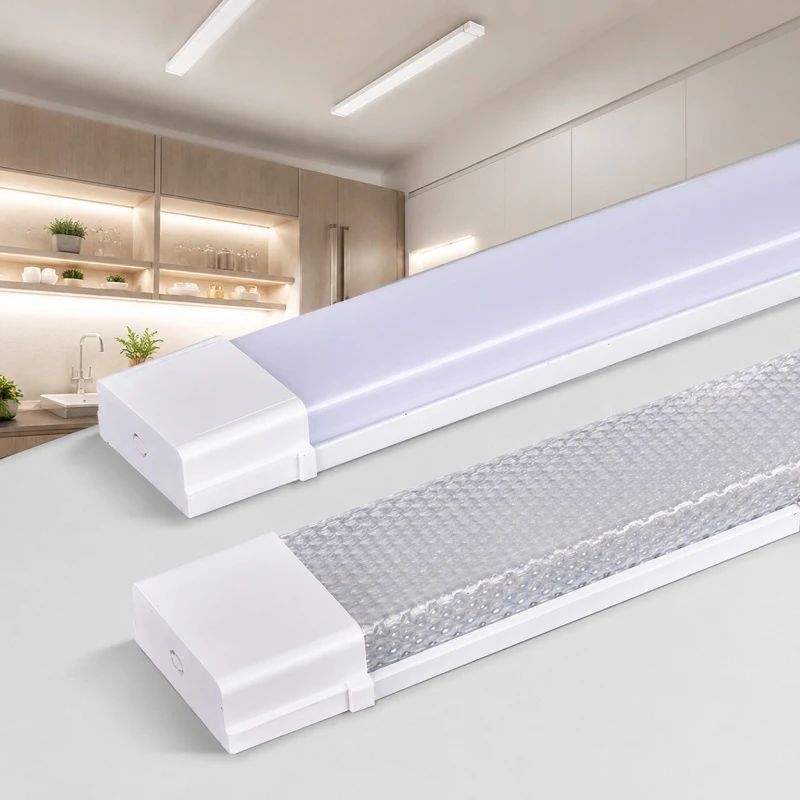
Wiring for bracket lights typically involves connecting three wires: live, neutral, and ground. The specific locations of the terminals are clearly marked in the instruction manual; ensure terminals are tightened securely to prevent loose connections, which could cause poor contact or even arcing. If installing multiple lights in a continuous row (a common application for bracket lights), most products feature connection ports at both ends. Adjacent fixtures can be daisy-chained using specialized connecting cables to enable unified power supply and switching control. Refer to the manual for the maximum number of units allowed in a row; exceeding this limit can lead to brightness degradation in the final fixture or excessive circuit load.
Post-Installation Testing and Troubleshooting
Do not rush to restore the ceiling or cover plates immediately after installation. First, power on the fixture to verify it lights up correctly and check for flickering, abnormal noises, or localized overheating. If the light fails to turn on, check for loose or reversed wiring, and inspect the circuit breaker and fuse. If only some lights in a row fail to illuminate, the issue is usually poor contact at the connection point; unplugging and reconnecting the connectors typically resolves this. Proceed with final securing and finishing touches only after confirming everything is functioning correctly.
Summary
The installation process for LED bracket lights is straightforward. Success relies on key steps: thorough pre-installation preparation, selecting the correct mounting method, adhering to proper wiring standards, and performing post-installation power-on tests. Even with seemingly simple products, failure to properly address details can compromise service life and safety; the steps involving power-off inspections and bracket mounting are particularly critical, yet often overlooked.
If you have specific requirements regarding installation methods, daisy-chaining configurations, or ingress protection ratings when selecting or bulk-purchasing LED bracket lights, please share your project details and quantity requirements with us. We can provide tailored product recommendations and technical support based on your specific needs-feel free to send an inquiry at any time.
Our address
No. 5-3 Niujiao Road, Yanchuan Community, Yanluo Subdistrict, Bao'an District, Shenzhen
bwzm18@ledbenweilighting.com